Django Admin
The Django admin is one of the star features of the web framework, and one of the reasons it’s so popular! It allows you to easily interact with and edit our database models in a nice UI with a configurable interface and minimal setup.
To use the admin, you’ll need to create a super-user. Don’t forget to save your credentials!
(env) $ python manage.py createsuperuser
Next, we’ll need to make sure that we registered the Post model we created previously in our admin interface.
Open blog/admin.py and make sure it looks like this:
from django.contrib import admin

from .models import Post

# Register your models here.
admin.site.register(Post)
Make sure your server is running
(env) $ python manage.py runserver
Now open the admin site at http://localhost:8000/admin and log in with the credentials you entered.
If you forgot your password, you can reset it with the following commmand: python manage.py changepassword
You should see three models available in the Django administration interface. Two of them, Groups and Users were automatically created by Django. Posts is our custom model.
The admin interface will allow us to easily interact with our data.
Click through the Posts, click Add Post + and you should see something like this:
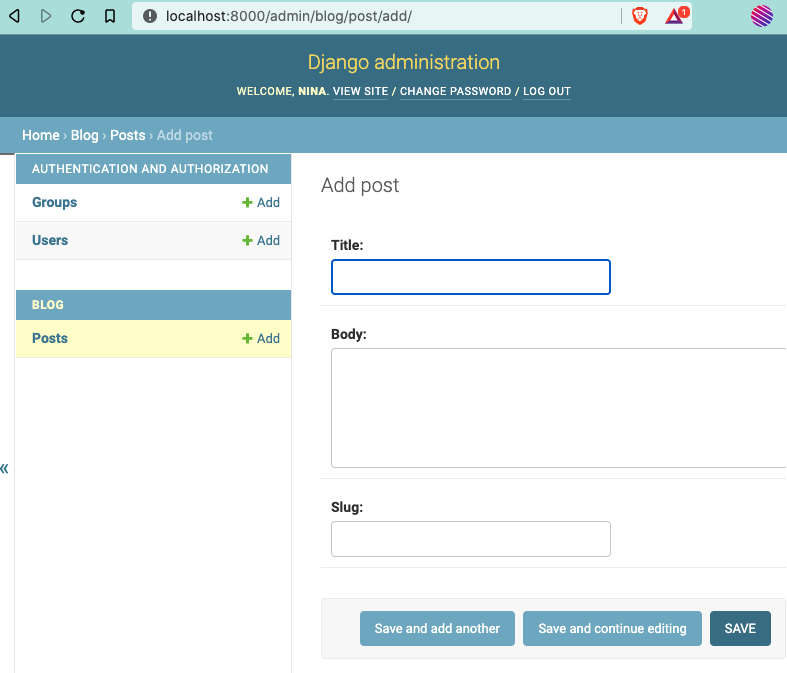
The form fields in the Admin interface correspond to the data model we created.
- The title is a CharField will a max length of 300.
- The body TextField is a large text box
Notice that there’s no field for created_at. That’s because we used the auto_now_add=True flag in the model, meaning that created_at will be set to the current time when the model is created seamlessly and behind the scenes.
Any validation that we specified on our models will be enforced by the admin interface, like the 300 character limit for title.